Vision Slide Viewer software
Starting the program
![]()
To start the application, double-click the Vision Slide Viewer desktop icon.
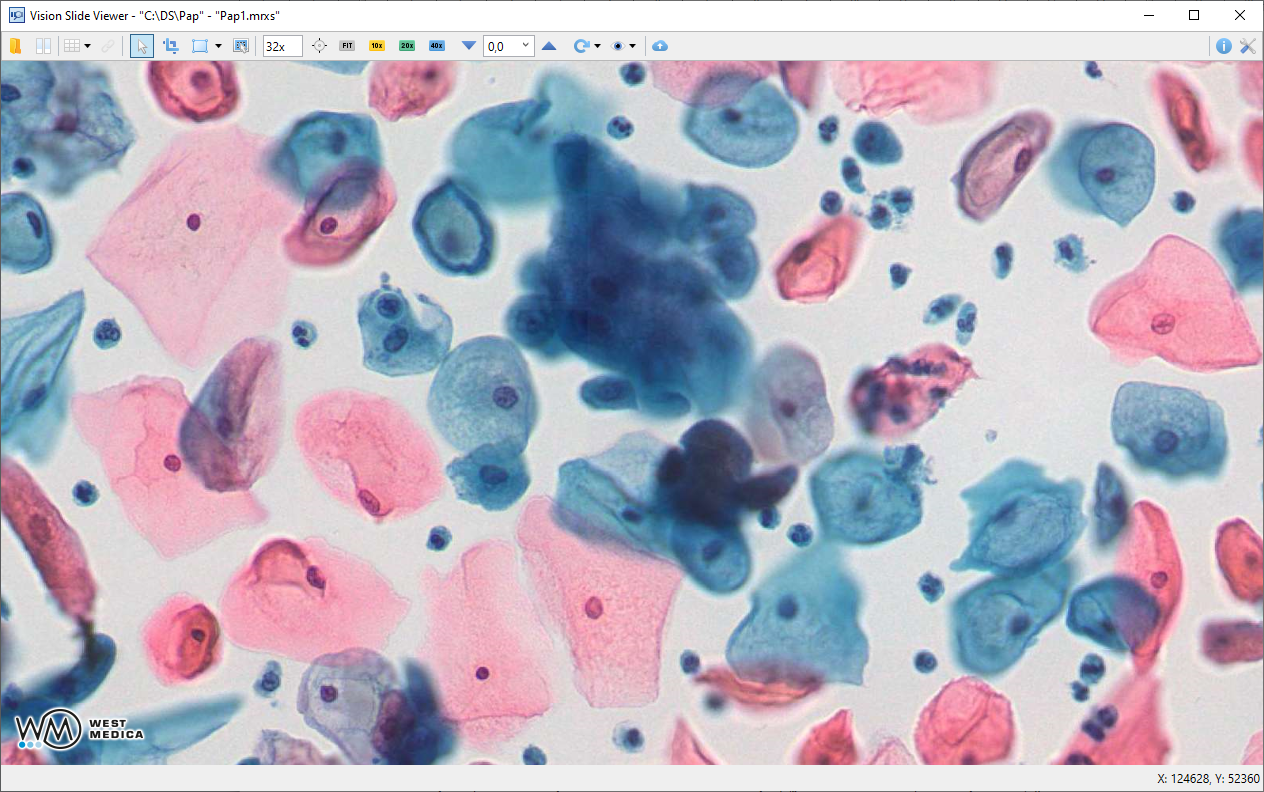
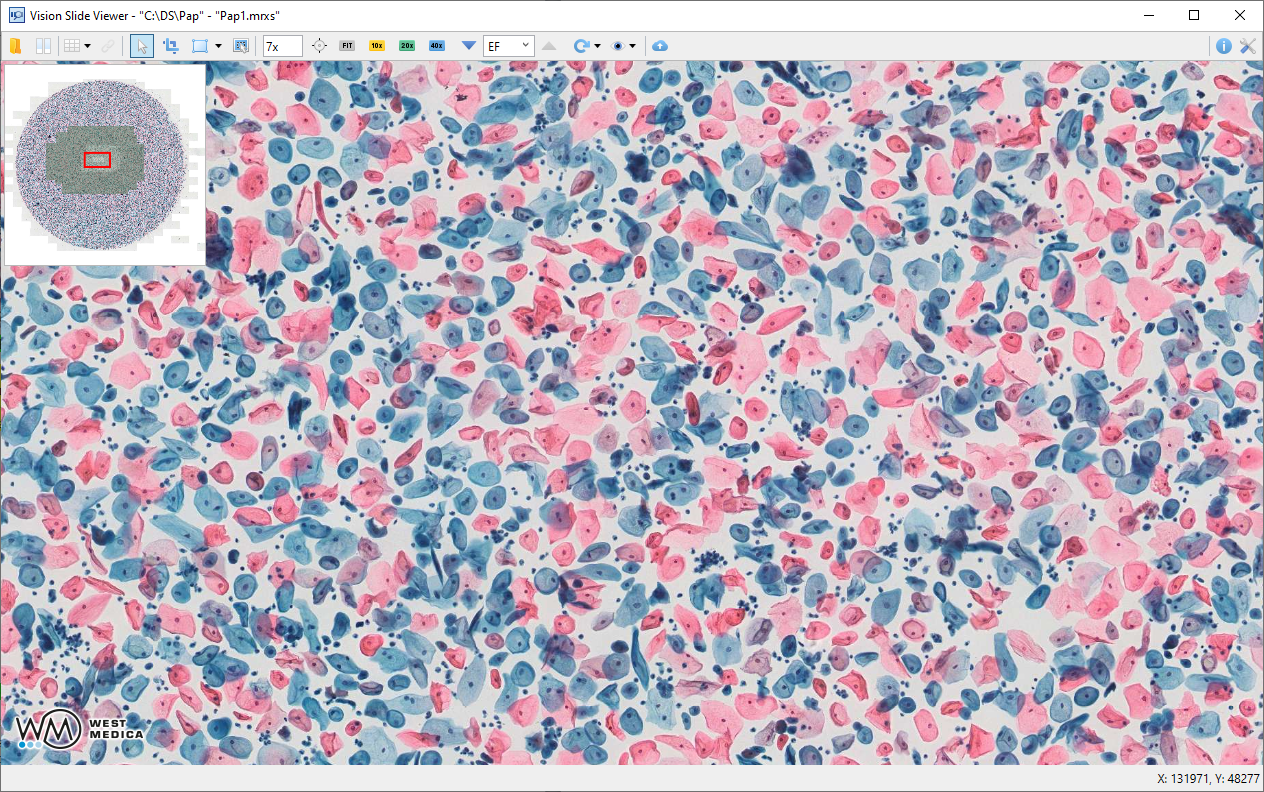
Main window
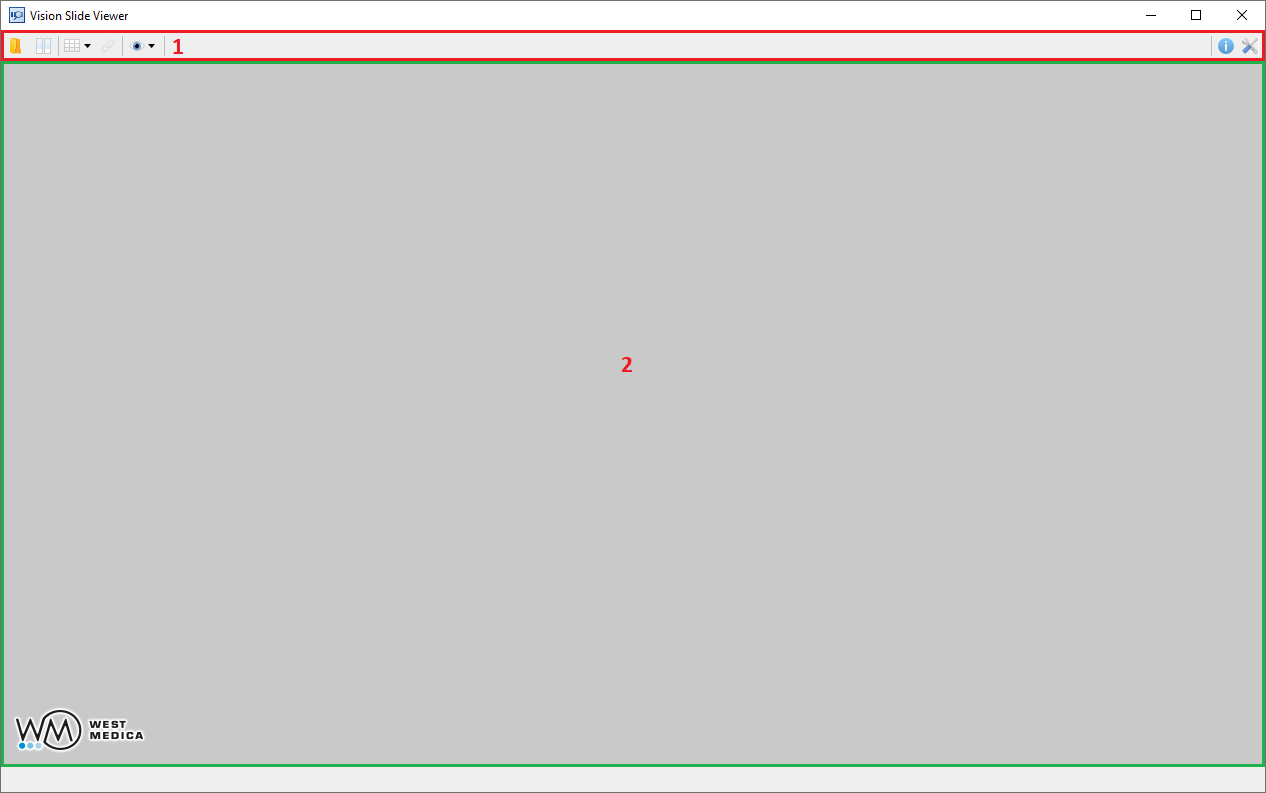
- Toolbar (highlighted in red);
- Digital slide viewing area (highlighted in green).
The toolbar changes when you open a digital slide file — additional tool buttons appear on it, which are described in detail in Toolbar layout when working with a digital slide.
Toolbar layout when starting the program

The following elements are available on the toolbar after starting the program:
- “Open” button;
- “Slide View” button;
- “Multi View” button;
- “Link Slides” button;
- “View” drop-down menu (see “View” drop-down menu);
- “About” button;
- “Settings” button.
“Open” button

Clicking on the "Open" button opens the explorer window to select a digital slide file with one of the available extensions: “.mrxs”, “.tiff”, “.svs”, “.ndpi”, “.isyntax”, “i2syntax”, “.dcm”.
Attention
The “isyntax” and “i2syntax” formats are supported only by the 64-bit version of the application.

The path to the work folder containing the digital slide file opened for viewing and the name of the file are displayed in the header of the main window.
“Slide View” button
![]()
When you click on the "Slide view" button, an area with images of digital slides in the form of glasses from the work folder appears. The path to the work folder is displayed in the header of the main window and depends on the location of the digital slide that is opened for viewing.
To open a digital slide for viewing, drag the image of the digital slide into the viewing area or double-click on it with the left mouse button.
When you hover the cursor over the slide image, the ![]() button appears, which can be used to rotate the label image.
button appears, which can be used to rotate the label image.
“Multi View” button

The “Multi View” button allows you to divide the viewing area into several windows for joint viewing of several digital slides.
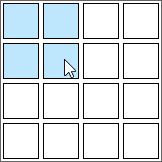
When you click the button, a grid appears that allows you to customize the layout, according to which the viewing area will be divided into several equal windows.
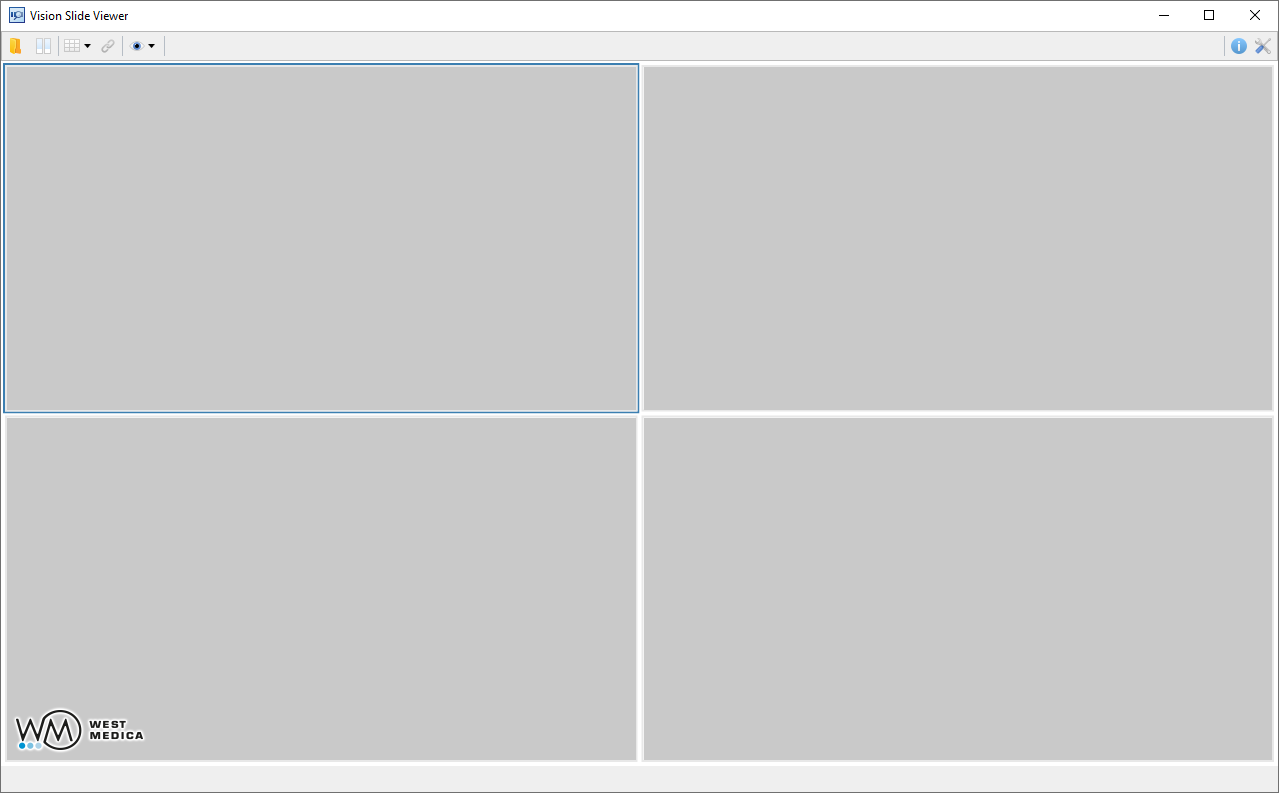
In multi-window mode, the tools interact only with the selected window. To highlight a window, left-click on it. To open a digital slide in a specific window, left-click on the selected window, then click the “Open” button on the toolbar and select the digital slide file in the explorer.
“Link Slides” button
![]()
The “Link Slides” button is active only if the viewing area is divided into two or more windows.
Clicking the "Link Slides" button links all the viewing windows, which allows you to zoom, move and rotate digital slides synchronously.
“About” button
![]()
The “About” button opens a window with information about the application.
“Settings” button

The “Settings” button opens the window with the application settings.
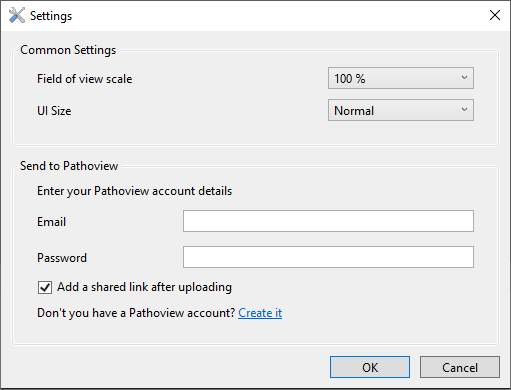
Available settings:
- “Common Settings”:
- “Field of view scale” — selecting the image scaling mode relative to the program window: 50 %, 75 %, 100 %, 125 %, 150 %;
- “UI Size” — selecting the zoom mode of the user interface:
- Normal;
- Big;
- “Send to Pathoview” — Pathoview account connection settings.
- “Email”;
- “Password”;
- “Add a shared link after uploading” — enabling/disabling the option to automatically receive a shared access link after uploading a digital slide.
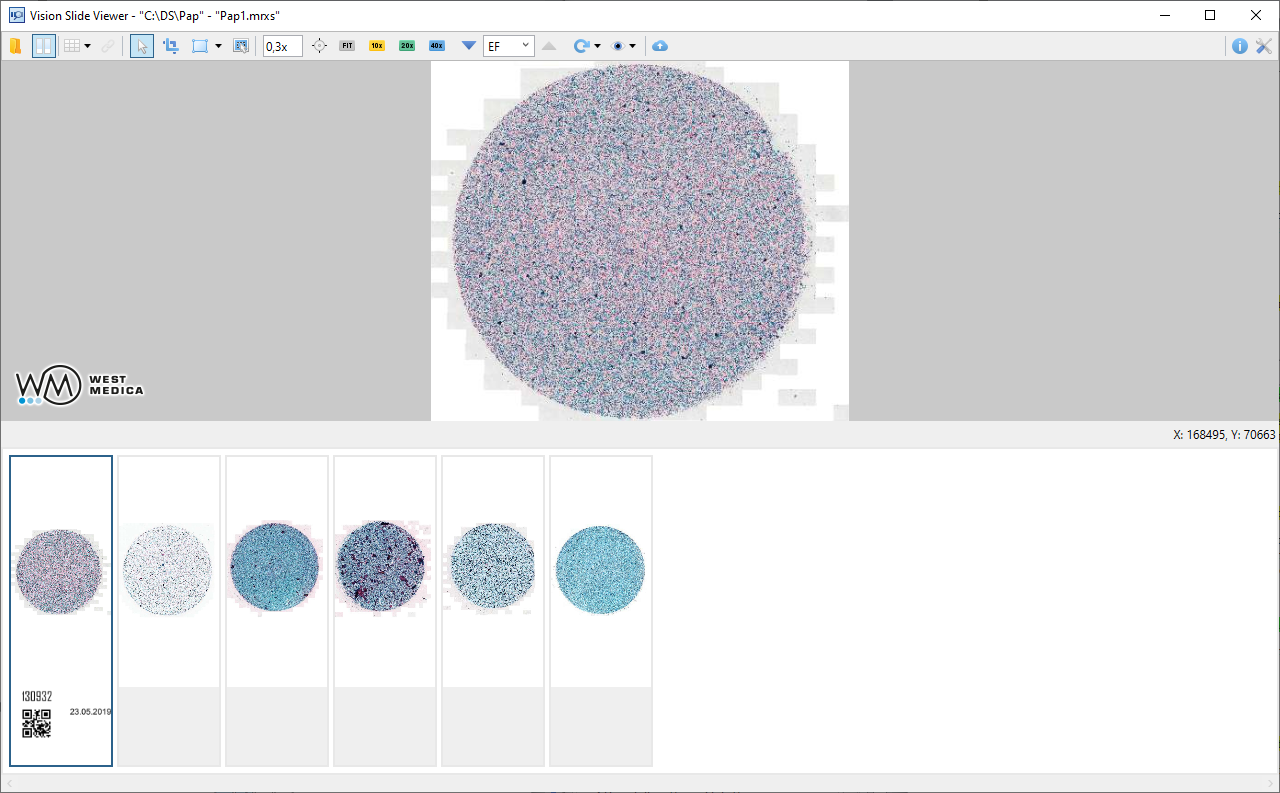
Toolbar layout when working with a digital slide

After selecting the digital slide file via the “Open” button, additional tools are added to the toolbar (highlighted in red in the image above):
- “Selector/Hand” button;
- “Crop” button;
- “Annotations” button;
- “Ruler” button
- “Save image” button;
- “Color Settings” drop-down menu;
- Field displaying the current magnification;
- “Move to…” button;
- Panel with “FIT”, “10x”, “20x”, “40x”, “100x” buttons;
- Controls for viewing multi-layered DS;
- “Rotate” drop-down menu;
- “View” drop-down menu;
- “Send to Pathoview” button.
Attention
DS cropping mode is only available for the 64-bit version of the application.
“Selector/Hand” button

The “Selector/Hand” button is active by default and is used for switching to the digital slide viewing mode.
To move around the digital slide, move the mouse while holding down the left mouse button. Use the mouse wheel to zoom in and out.
“Crop” button

The “Crop” button turns on the cropping mode, which allows you to save the selected fragment as a separate digital slide.
Hold down the spacebar to move around and zoom the digital slide in the crop mode.
To select a fragment, move the mouse while holding down the left mouse button. To highlight the entire viewing area, left-click on the viewing area.
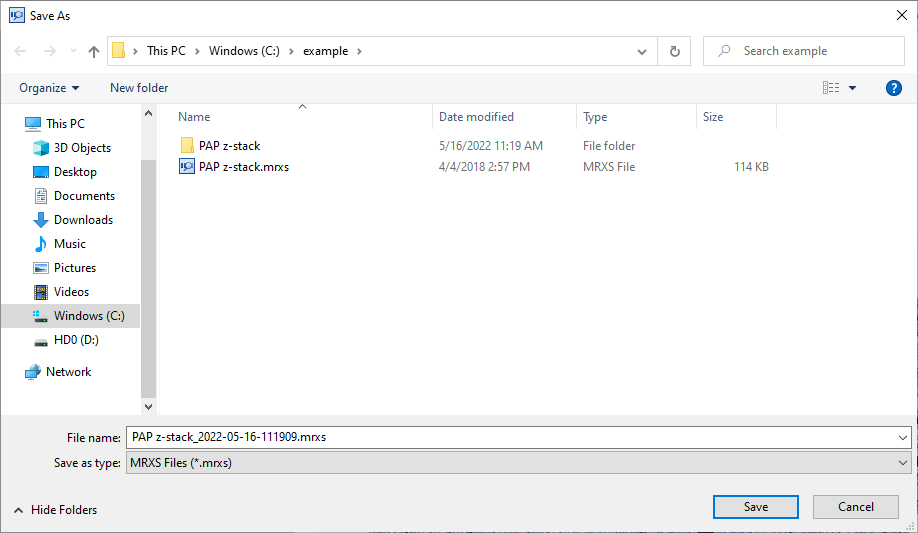
After selecting the fragment, the explorer window opens. In that window, specify the file name, select one of the available extensions and click “Save”. To return to the viewing mode, use the “Selector/Hand” button or click on the “Crop” button again.
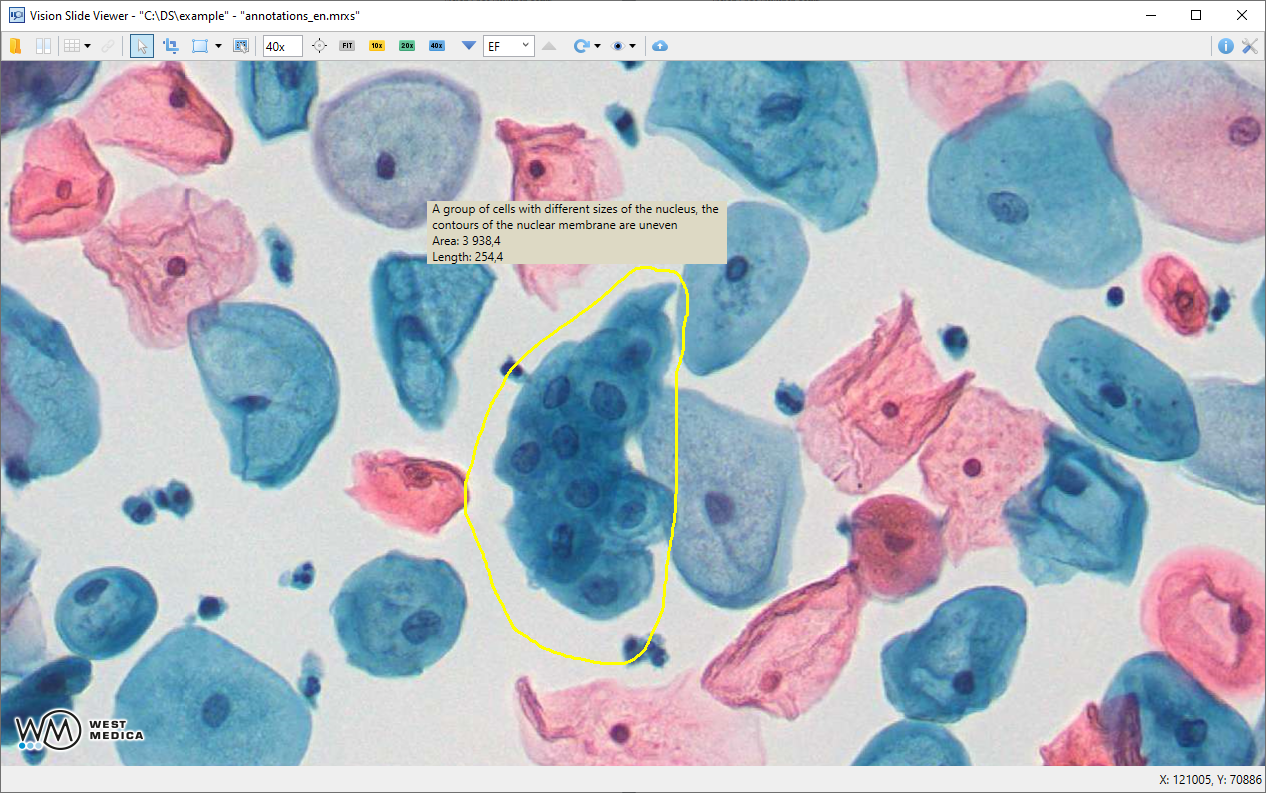
“Annotations” button

The "Annotations” button enables the annotation addition mode, which allows you to add an annotation to a digital slide based on the selected figure. To select a figure, click the drop-down list icon to the right of the button.
Available figures:
 “Rectangular area”;
 “Ellipse”;
 “Polygonal chain”;
 “Polygon”;
 “Line segment”;
 “Pointer”.
To move and zoom a digital slide in annotation mode, hold the space bar.
To draw the selected figure, move the mouse while holding down the left.
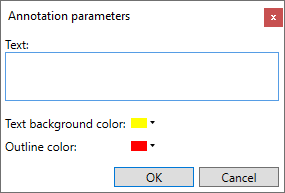
After adding the figure, an editing window will appear, allowing you to add annotation text and select colors for the figure and the text.
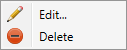
You can edit and delete annotations by selecting the corresponding options in the context menu. To call the context menu, right-click on the annotation.
To return to the viewing mode, use the “Selector/Hand” button or click on the “Annotations” button again.
“Ruler button”

The “Ruler” button enables the ruler mode, which allows you to measure objects in the image.
To move and zoom the digital slide when using the ruler, hold the space bar.
To perform a measurement, move the mouse with the left button held down — the segment and its length will be displayed on the digital slide.
“Save image” button
![]()
The “Save image” button enables the image saving mode, which allows you to save the selected fragment as a separate image.
To move and zoom the digital slide in image saving mode, hold the space bar.
To select a fragment, move the mouse while holding down the left button. To select the entire viewing area, left-click on the viewing area.
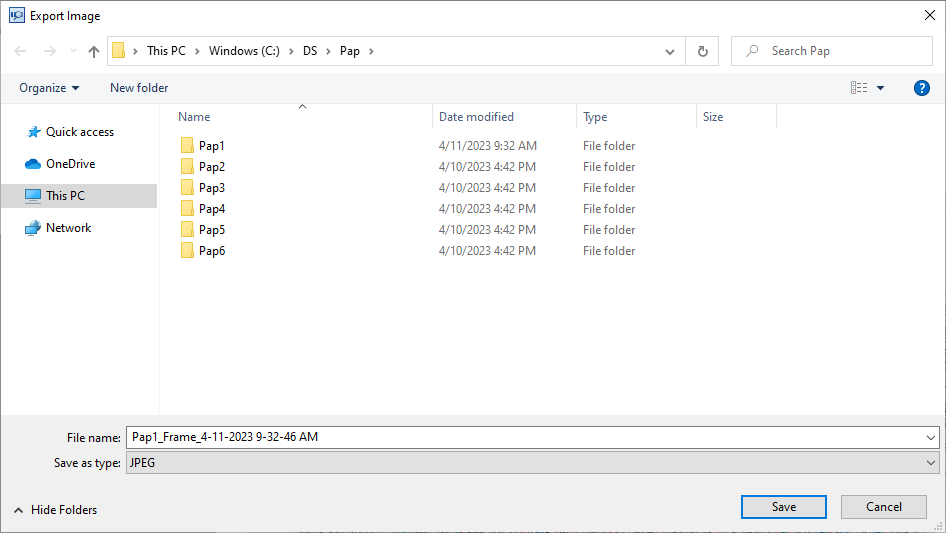
After selecting the fragment, the explorer window opens. In that window, specify the file name, select one of the available extensions and click “Save”.
To return to the viewing mode, use the “Selector/Hand” button or click on the “Save image” button again.
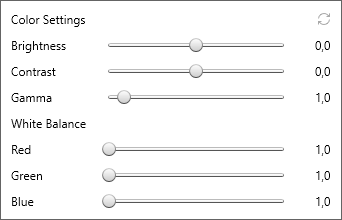
“Color Settings” drop-down menu

Clicking on the “Color Settings” drop-down menu icon displays a window that allows you to adjust the color of the image.
Field displaying the current magnification

This field displays the magnification that is used for viewing the digital slide.
“Move to…” button

Clicking the "Move to..." button opens a window with fields for entering the coordinates of the digital slide image that will then be shown in the center of the viewing area.

The origin of the coordinate plane lies in the upper left corner of the image.
The cursor coordinates are displayed in the lower right corner of the main window.
Panel with buttons for zooming and aligning

- The “FIT" button allows you to stretch and center the image of the digital slide relative to the main window.
- The “10x”, “20x”, “40x", “100x” buttons magnify the image by 10, 20, 40, 100 times, respectively, and you can also use the mouse wheel to zoom in.
Controls for viewing multi-layered DS
![]()
These elements only appear on the toolbar when viewing a multi-layer digital slide. The layers can be switched using the arrows ![]()
![]() or by selecting the corresponding layer in the drop-down list.
or by selecting the corresponding layer in the drop-down list.

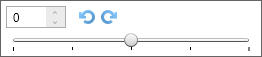
“Rotate” drop-down menu

Clicking on the “Rotate" icon displays a window that allows you to:
- accurately set the rotation angle of the image by entering a value in the input field;
- rotate the image by 90 degrees using the arrows;
- rotate the image using the slider.
“View” drop-down menu

Clicking on the “View” drop-down menu icon shows icons of additional tools that can be enabled and disabled by clicking the left mouse button on the tool icon. If the tool is enabled, then in the “View” drop-down menu a check mark is displayed next to it.
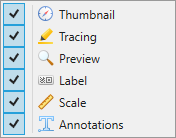
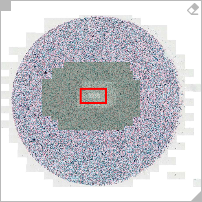
“Thumbnail” tool

The "Thumbnail" tool displays a window with a thumbnail of the digital slide. The red rectangle on the thumbnail shows the current viewing area.
“Tracing” tool
The “Tracing” tool works in conjunction with the “Thumbnail” tool and allows you to track the process of viewing a digital drug by changing the color of the thumbnail sections. The closer the fragment of the digital drug was viewed, the brighter it stands out on the thumbnail.
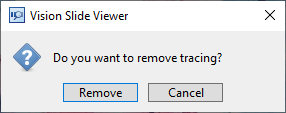
When hovering the mouse cursor over the thumbnail, the ![]() , button will be displayed in its upper right corner that can be used to reset the tracing. Clicking the button summons the confirmation dialog for the removal of tracing.
, button will be displayed in its upper right corner that can be used to reset the tracing. Clicking the button summons the confirmation dialog for the removal of tracing.
“Preview” tool

The “Preview” tool displays a window with an enlarged image of the area of the digital slide where the mouse cursor is located.
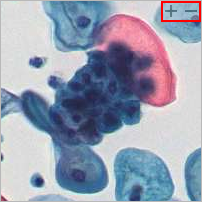
In the upper right corner of the “Preview” tool window there are “+” and “–” buttons to zoom the image in and out, respectively.
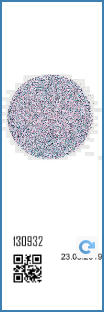
“Label” tool

The "Label" tool displays a window with an image of the digital slide label.
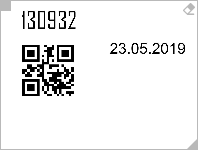
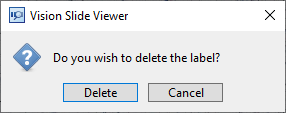
When you hover the cursor over the label, a button ![]() , appears in the upper right corner of the label, which you can use to delete the label. Clicking the button opens the confirmation dialog for deleting the label.
, appears in the upper right corner of the label, which you can use to delete the label. Clicking the button opens the confirmation dialog for deleting the label.
Attention
You cannot delete labels from the digital slides in "isyntax" and "i2syntax" formats.
“Scale” tool
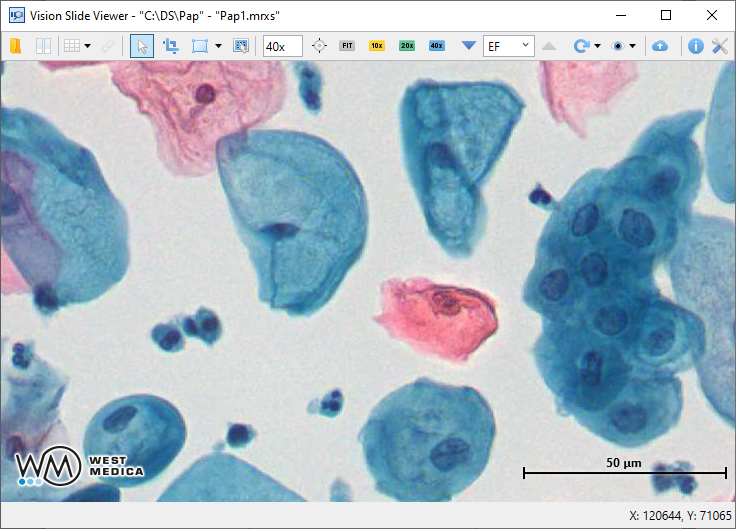
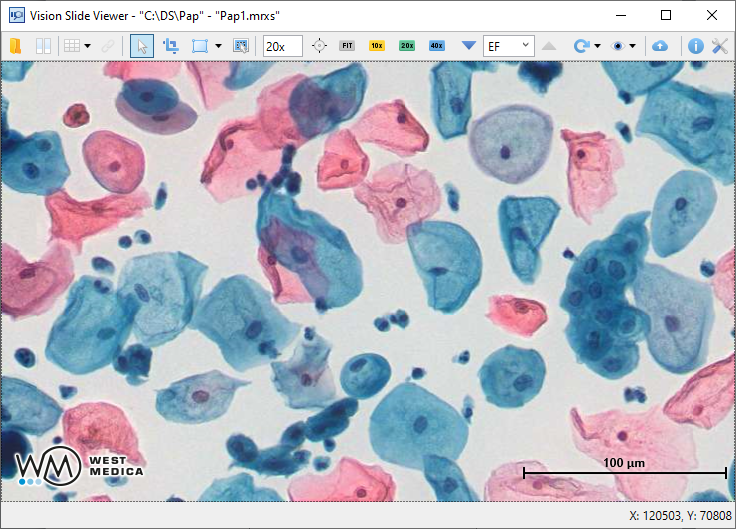
The “Scale" tool displays a scale in the lower right corner of the viewport that shows the scale at the current magnification level of the image.
“Annotations” tool
The “Annotations tool” enables the display of annotations on a digital slide.
You can edit and delete annotations by selecting the corresponding options in the context menu. So call the context menu, right-click on the annotation.
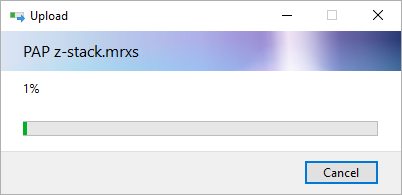
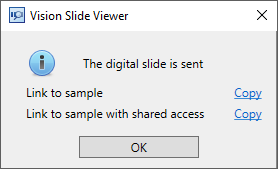
“Send to Pathoview” button

The "Send to Pathoview” button is active if the Pathoview account data is specified in the application settings.
Click the button to send the digital slide to Pathoview.