Samples
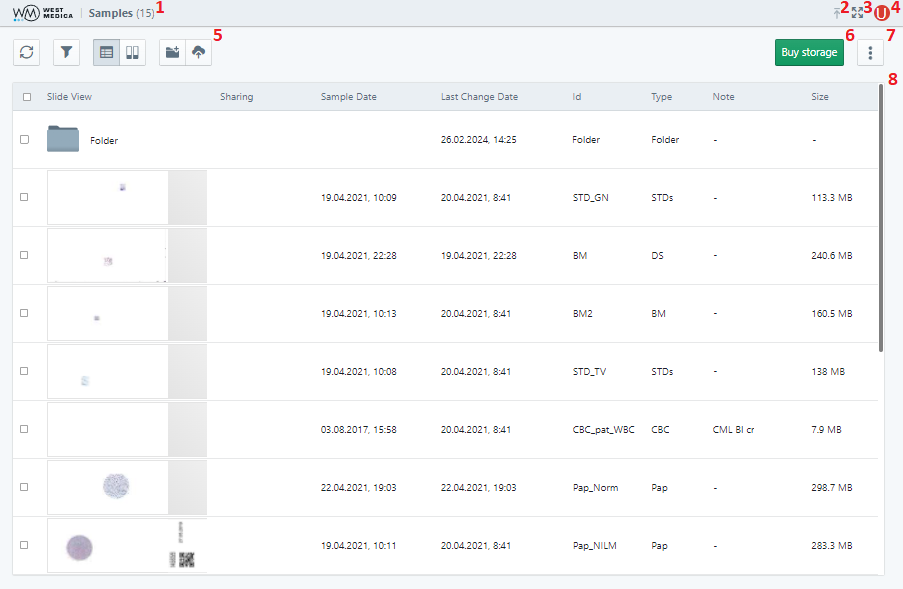
When you log in to your account, the “Samples” page opens, consisting of the following elements:
- Navigation path;
- “DS uploads” button;
- “Full Screen Mode” button;
- “Dark theme/Light theme” button;
- Profile avatar;
- Toolbar;
- “Buy storage” button;
- “More” menu;
- Table of samples.
Navigation path

The navigation path displays the path to the open page. Click on the navigation path element to go to the corresponding page.
“DS uploads”
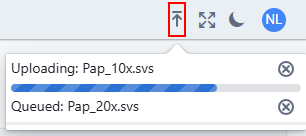
The “DS uploads” button brings up a pop-up window that displays the queue and the progress of digital slide uploads.
“Full Screen Mode” button

The “Full Screen Mode” button opens the page in full screen. To exit the full-screen mode, click the “Full Screen Mode” button again or press the “Esc” key on the keyboard.
“Dark theme/Light theme” button

The “Dark theme/Light theme” button switches the color scheme of the application.
Profile avatar
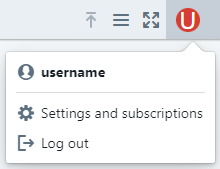
Clicking on the profile avatar brings up a menu consisting of the following items:
- “Settings and subscriptions” — account settings for editing the profile data and changing the tariff plan;
- “Log out” — logging out of the account.
The account settings are described in detail in the “Account settings” section.
Toolbar

The set of buttons on the toolbar depends on the selection of objects in the table. The toolbar contains the following elements:
- “Refresh” — refreshes the table of samples;
- “Filter” — adds filters for the table of samples:
- “Shared” — filtering by access to the folder or the linked sample;
- “Sample Date” — filtering by date of sampling;
- “Last Change Date” — filtering by date of the last change;
- “ID” — filtering ID;
- "Type" — filtering by object type;
- “Note” — filtering by sample notes;
- “Size” — filtering by used storage volume;
- “Table View” — displays folders and samples as a table;
- “Slides View” — displays folders and samples as a gallery;
- “Create folder” — adds a folder to the table of samples;
- “Upload DS” — allows you to upload digital slide files;
- “Share” — provides a link to the folder or sample, the button is available when you select an object from the table or gallery of samples, or when a folder is opened for viewing;
- Search bar — quick search for folders and samples in the table by column values.
“Buy storage” button

The “Buy storage” button opens a dialog for changing the tariff plan. For more information about changing the tariff plan, see the “Tariffs and Payment” section.
“More” menu
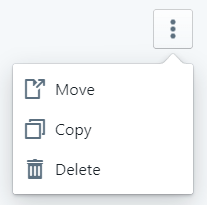
The “More” menu contains the following items:
- “Rename folder” — allows you to rename the selected folder;
- “Move” — moves the selected objects to the specified location;
- “Copy” — copies the selected objects to the specified location;
- “Delete” — deletes the selected objects.
You can also summon the context menu for the folders and samples selected in the table by right-clicking on a selected element.
Table and gallery of samples
All samples uploaded by the user are displayed as a table or a gallery, depending on the selected display mode.
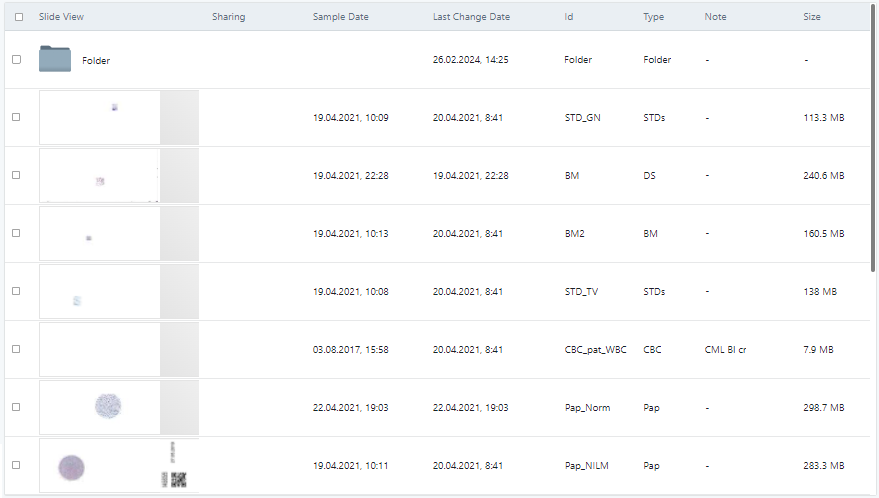
The table of samples consists of the following columns:
- “Object selection box” — allows you to select folders and samples from the table;
- “Slide View” — displays the folder icon or the thumbnail of the digital slide;
- “Shared” — displays a special icon if link access is enabled for the object;
- “Sample Date” — displays the date of sampling;
- “Last Change Date” — displays the date of the last change made to the object;
- “ID” — displays the object ID;
- “Type” — displays the table object type;
- “Note” — displays the sample note;
- “Size” — displays the storage volume used by the object.
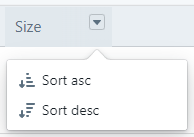
To sort by column, hover over the selected column, click on the drop-down list icon and select the sorting option: “Sort asc”, “Sort desc”.
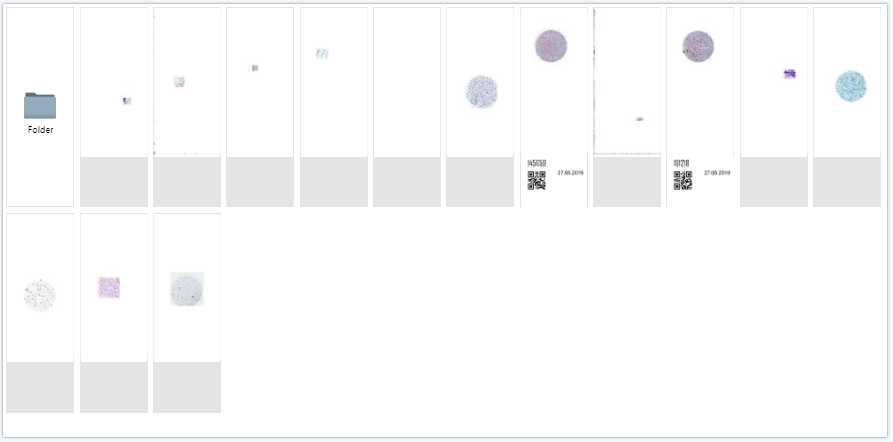
The gallery displays folders and samples in the form of glass slides.
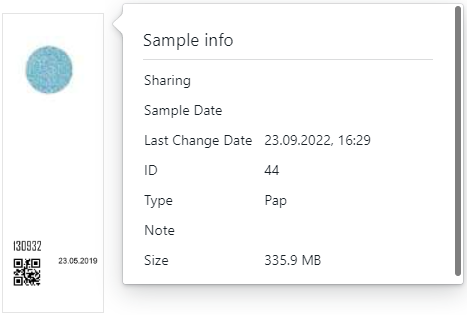
To view the information about a folder or a sample, hover the cursor over the folder of sample image and click on the three dots in the upper right corner of the image.
Uploading digital slides

To upload digital slides to the storage, click the “Upload DS” button on the toolbar.
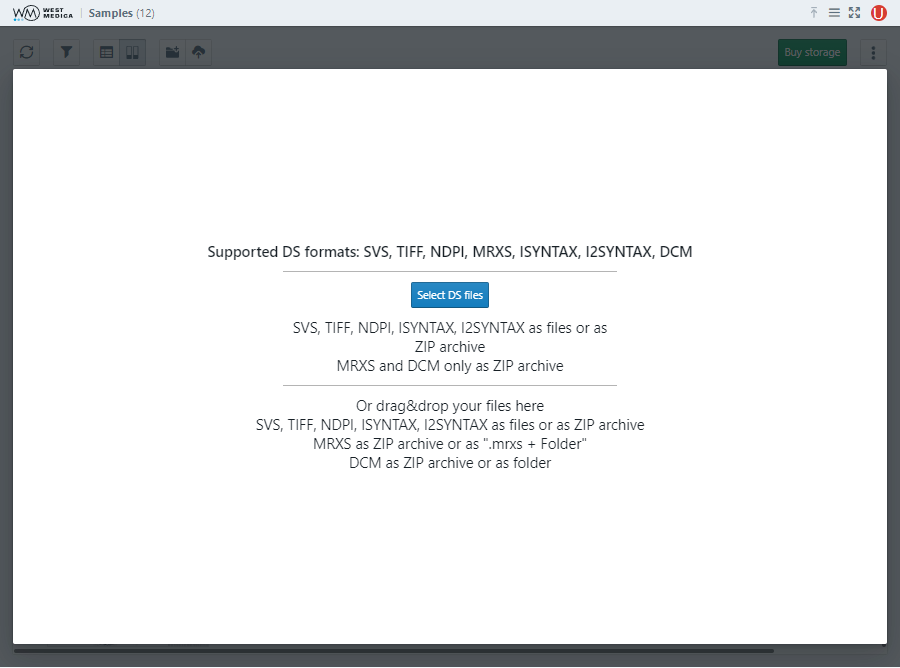
Drag and drop the files of digital slides you want to upload into the opened window, or click the corresponding button to select files or a folder with digital slides on the computer.
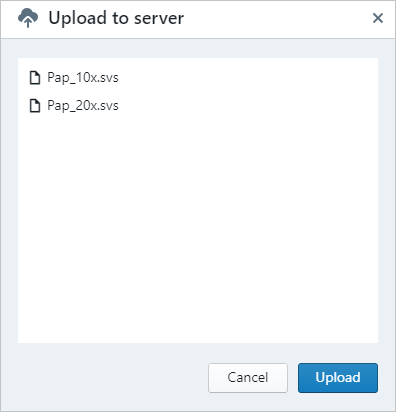
Check the correctness of the selected files and click the “Upload" button.
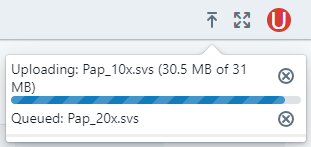
The “DS uploads” pop-up window will display the queue and the file upload progress. At the end of the upload, the digital slides will appear in the table.
Providing access to samples and folders via the link

To share a folder or a sample, select the required object in the table of samples by checking the corresponding box. Additional buttons will appear on the toolbar. Click the “Share” button.
The “Share” window will open, consisting of two sections:
- “Public access” — section for creating a share link that allows anyone who has the link to view the corresponding folder or sample;
- “Private access” — section for creating private access links that allow viewing a folder or sample to a limited list of selected users.
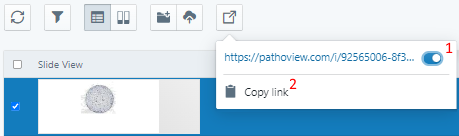
Public access

To set up shared access, click the toggle button (1) and select “Copy link” (2). The link to the folder or sample selected in the table will be copied to the clipboard.
To send the link by email, enter one or more email addresses separated by a space in the corresponding field (3) and click send (4).
Private access
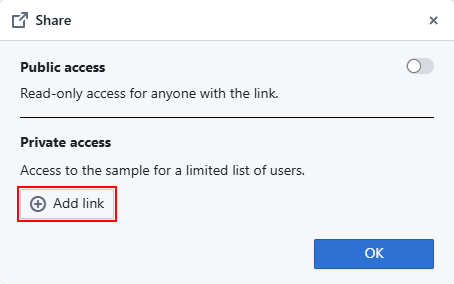
To set up private access, click the “Add link” button to open the “Private access link” section containing settings for the added link.

The following elements are available for the added link:
- “Remove link” button — deletes the link;
- Toggle button — activates/deactivates the link;
- “Users with private access” field — field for entering the email addresses of users who are allowed access via the link (use spaces to enter multiple addresses);
- “Link access rights” drop-down list — allows selecting access rights:
- “Viewing” — viewing only;
- “Editing” — viewing and editing;
- “Copy link” button — copies the link to the clipboard;
- “Send to email” button — sends to the link to the specified email addresses.